
Salted Butter Caramels
So it’s getting to that time of year… the BEST time of year. Fine, I won’t start wearing my Christmas jumpers and cheer until the 1st December, but I will start prepping for Christmas lunch (yes, really) and thinking about gifts. Haters gonna hate.
A few years ago I made homemade gifts for some of my friends, partly because I was totally broke yet didn’t want to come across as a total Scrooge. This was back when salted caramel was having a ‘thing’ and everywhere I looked there was salted caramel this and salted caramel that. It seemed like a sign, so off I went and picked up a cheap candy thermometer to get the party started. The resulting caramels were deeelicious, and received as thoughtful and “so cute”. Winning.
Finding myself in a similar predicament to that cold and penniless Christmas, I’m getting my Martha Stewart on once again and am planning an array of homemade treats to gift to friends. I’m thinking jams, nut butters, cookies – the works. And these devilishly buttery salted caramels are definitely making a comeback.
Although these sticky sweet mouthfuls of joy may seem intimidating, it’s more about patience and keeping a watchful eye on the temperature than actual skill. Heat two pans of cardiac arrest, mix them together and heat again – voilà.
SALTED BUTTER CARAMELS
Makes 60 caramels
Ingredients
150g soft light brown sugar
125g golden syrup
100g unsalted butter, cut into cubes
250ml thick double cream
150g caster sugar
1 teaspoon vanilla bean paste
Smoked sea salt flakes
Method
You’ll need: a candy thermometer, parchment paper to wrap the candies in, or if you’re a fancy so and so, candy wrappers.
- Firstly prepare a tin for your caramel to set in by greasing with sunflower oil and lining with parchment paper.
- In a pan add the brown sugar, golden syrup, butter and cream and place over a low to medium heat. Heat the mixture until smooth and hot, stirring occasionally. Remove the pan from the heat and set aside.
- In a heavy duty pan add the caster sugar and 2 tablespoons of water, and start to dissolve over a low heat. Once dissolved you can bring the heat up a little and keep melting the sugar syrup until it caramelises and turns amber in colour. NOTE: You don’t want to stir the syrup unless there are specific spots where the sugar isn’t melting, rather whirl the pan.
- Once the sugar syrup has caramelised, remove the pan from the heat and pour in the butter and cream mixture, while exercising caution – this stuff is H O T.
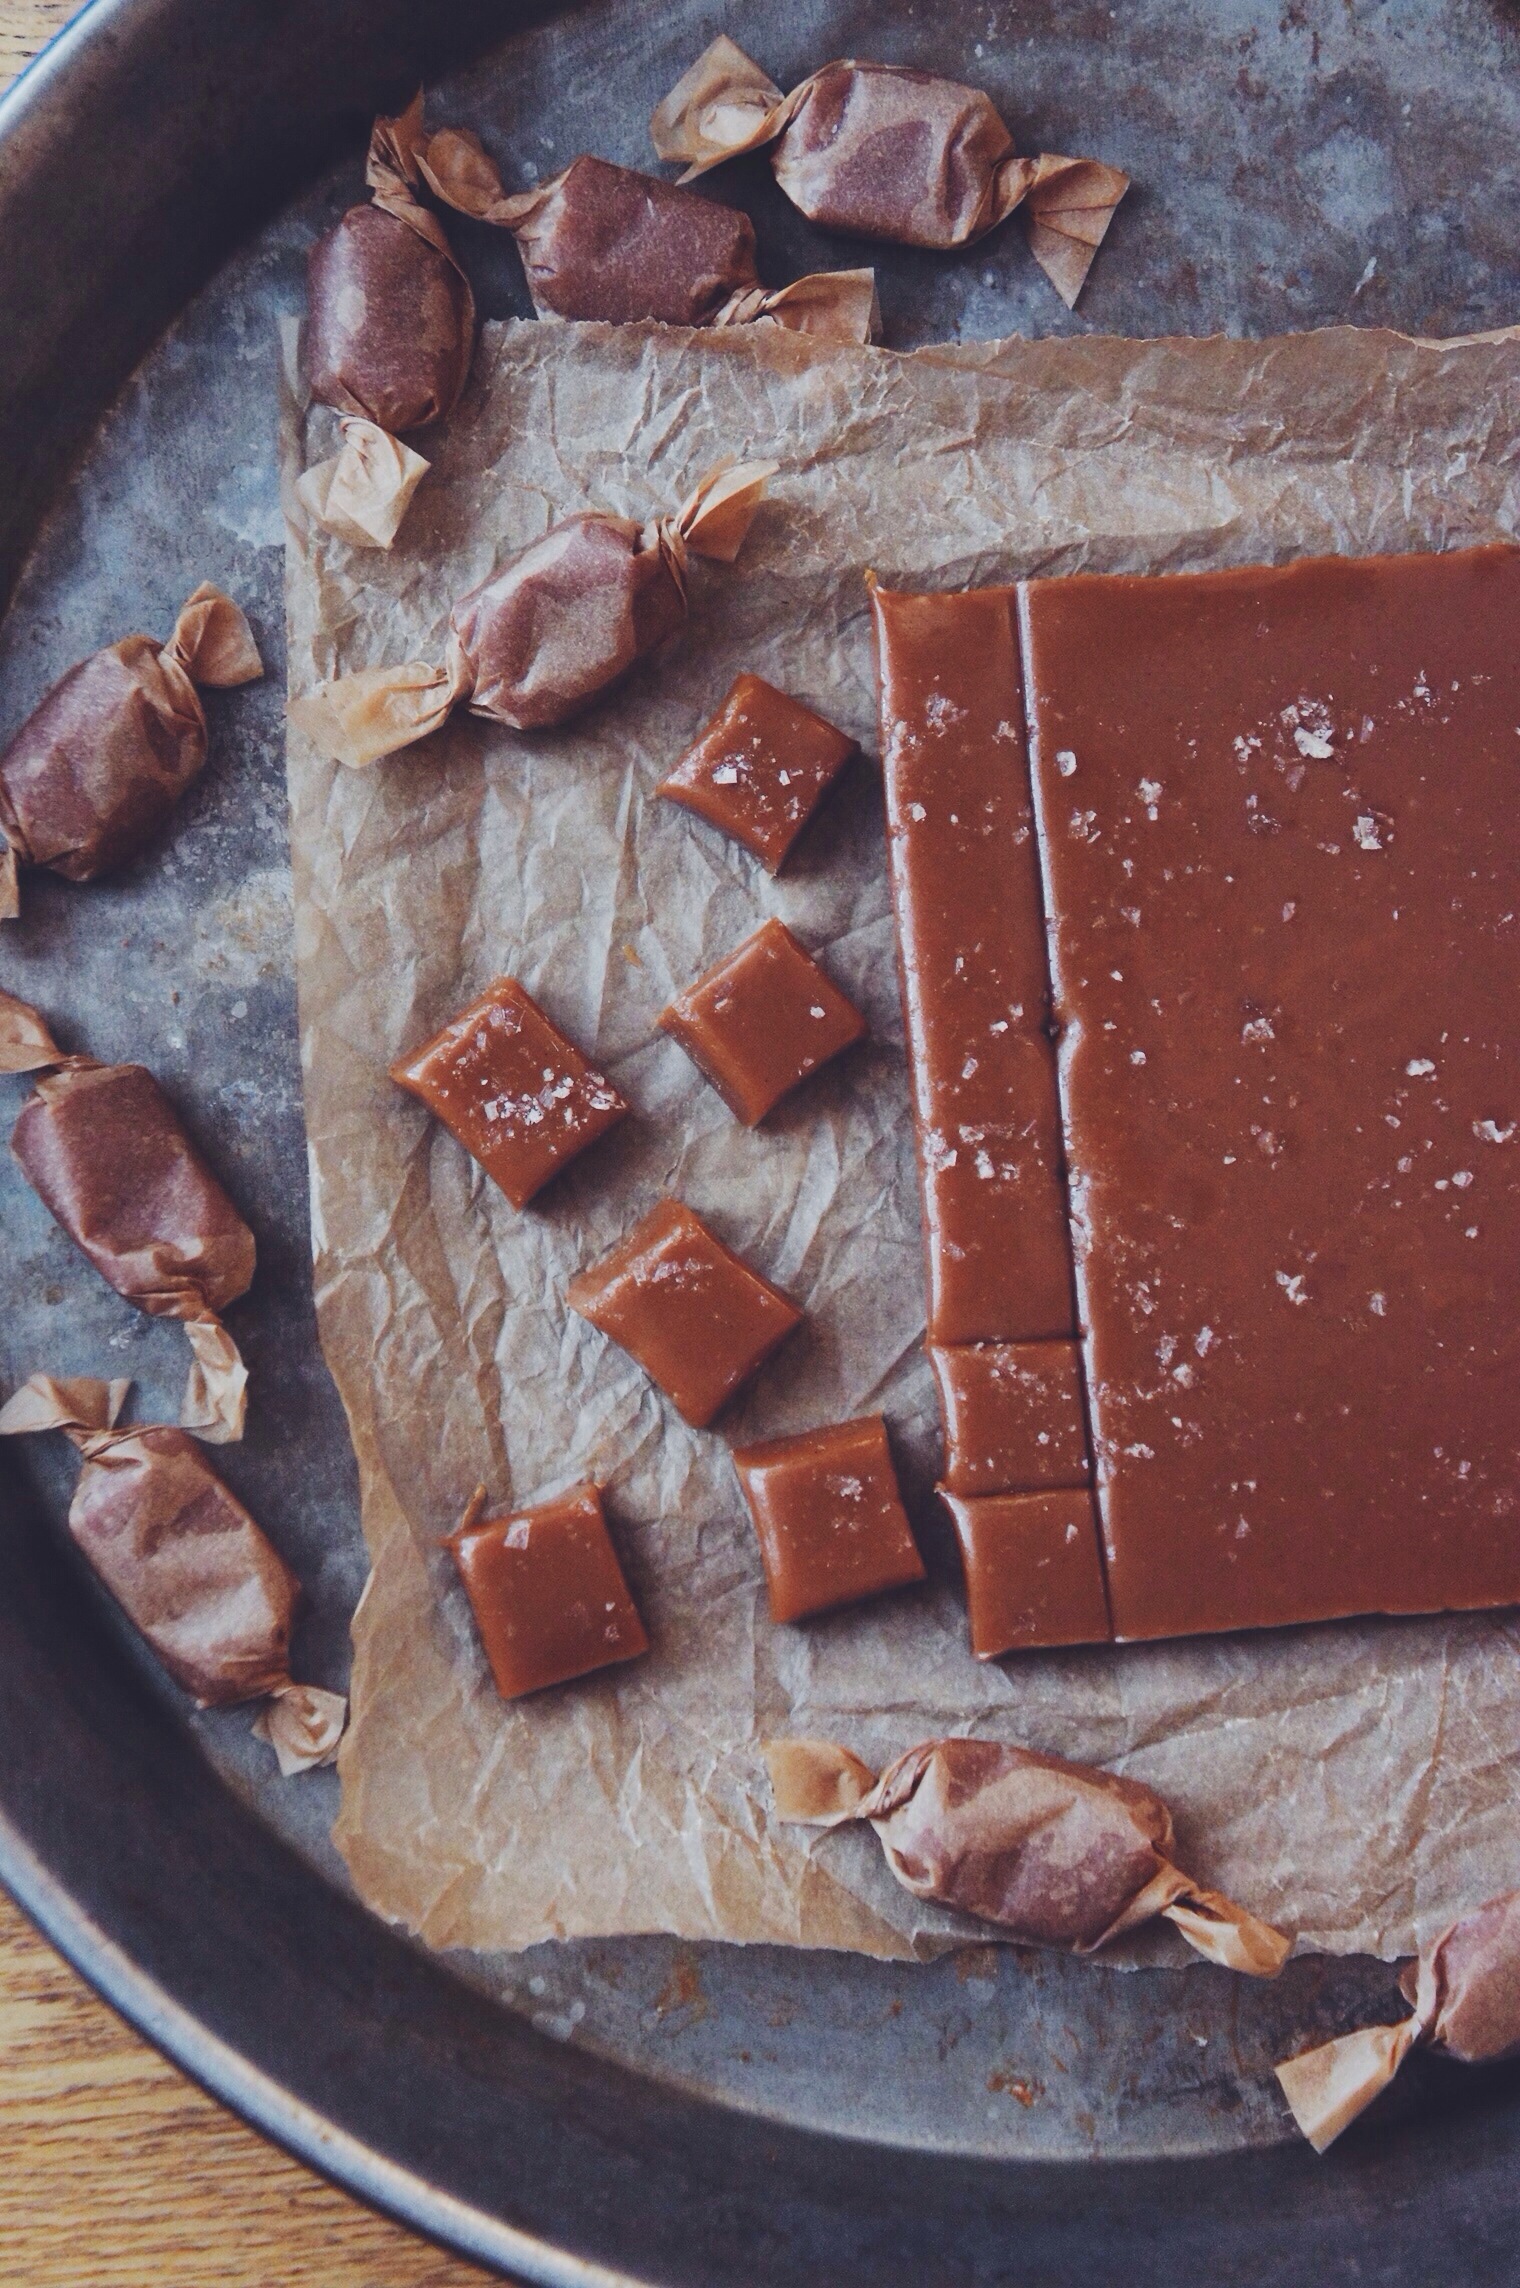
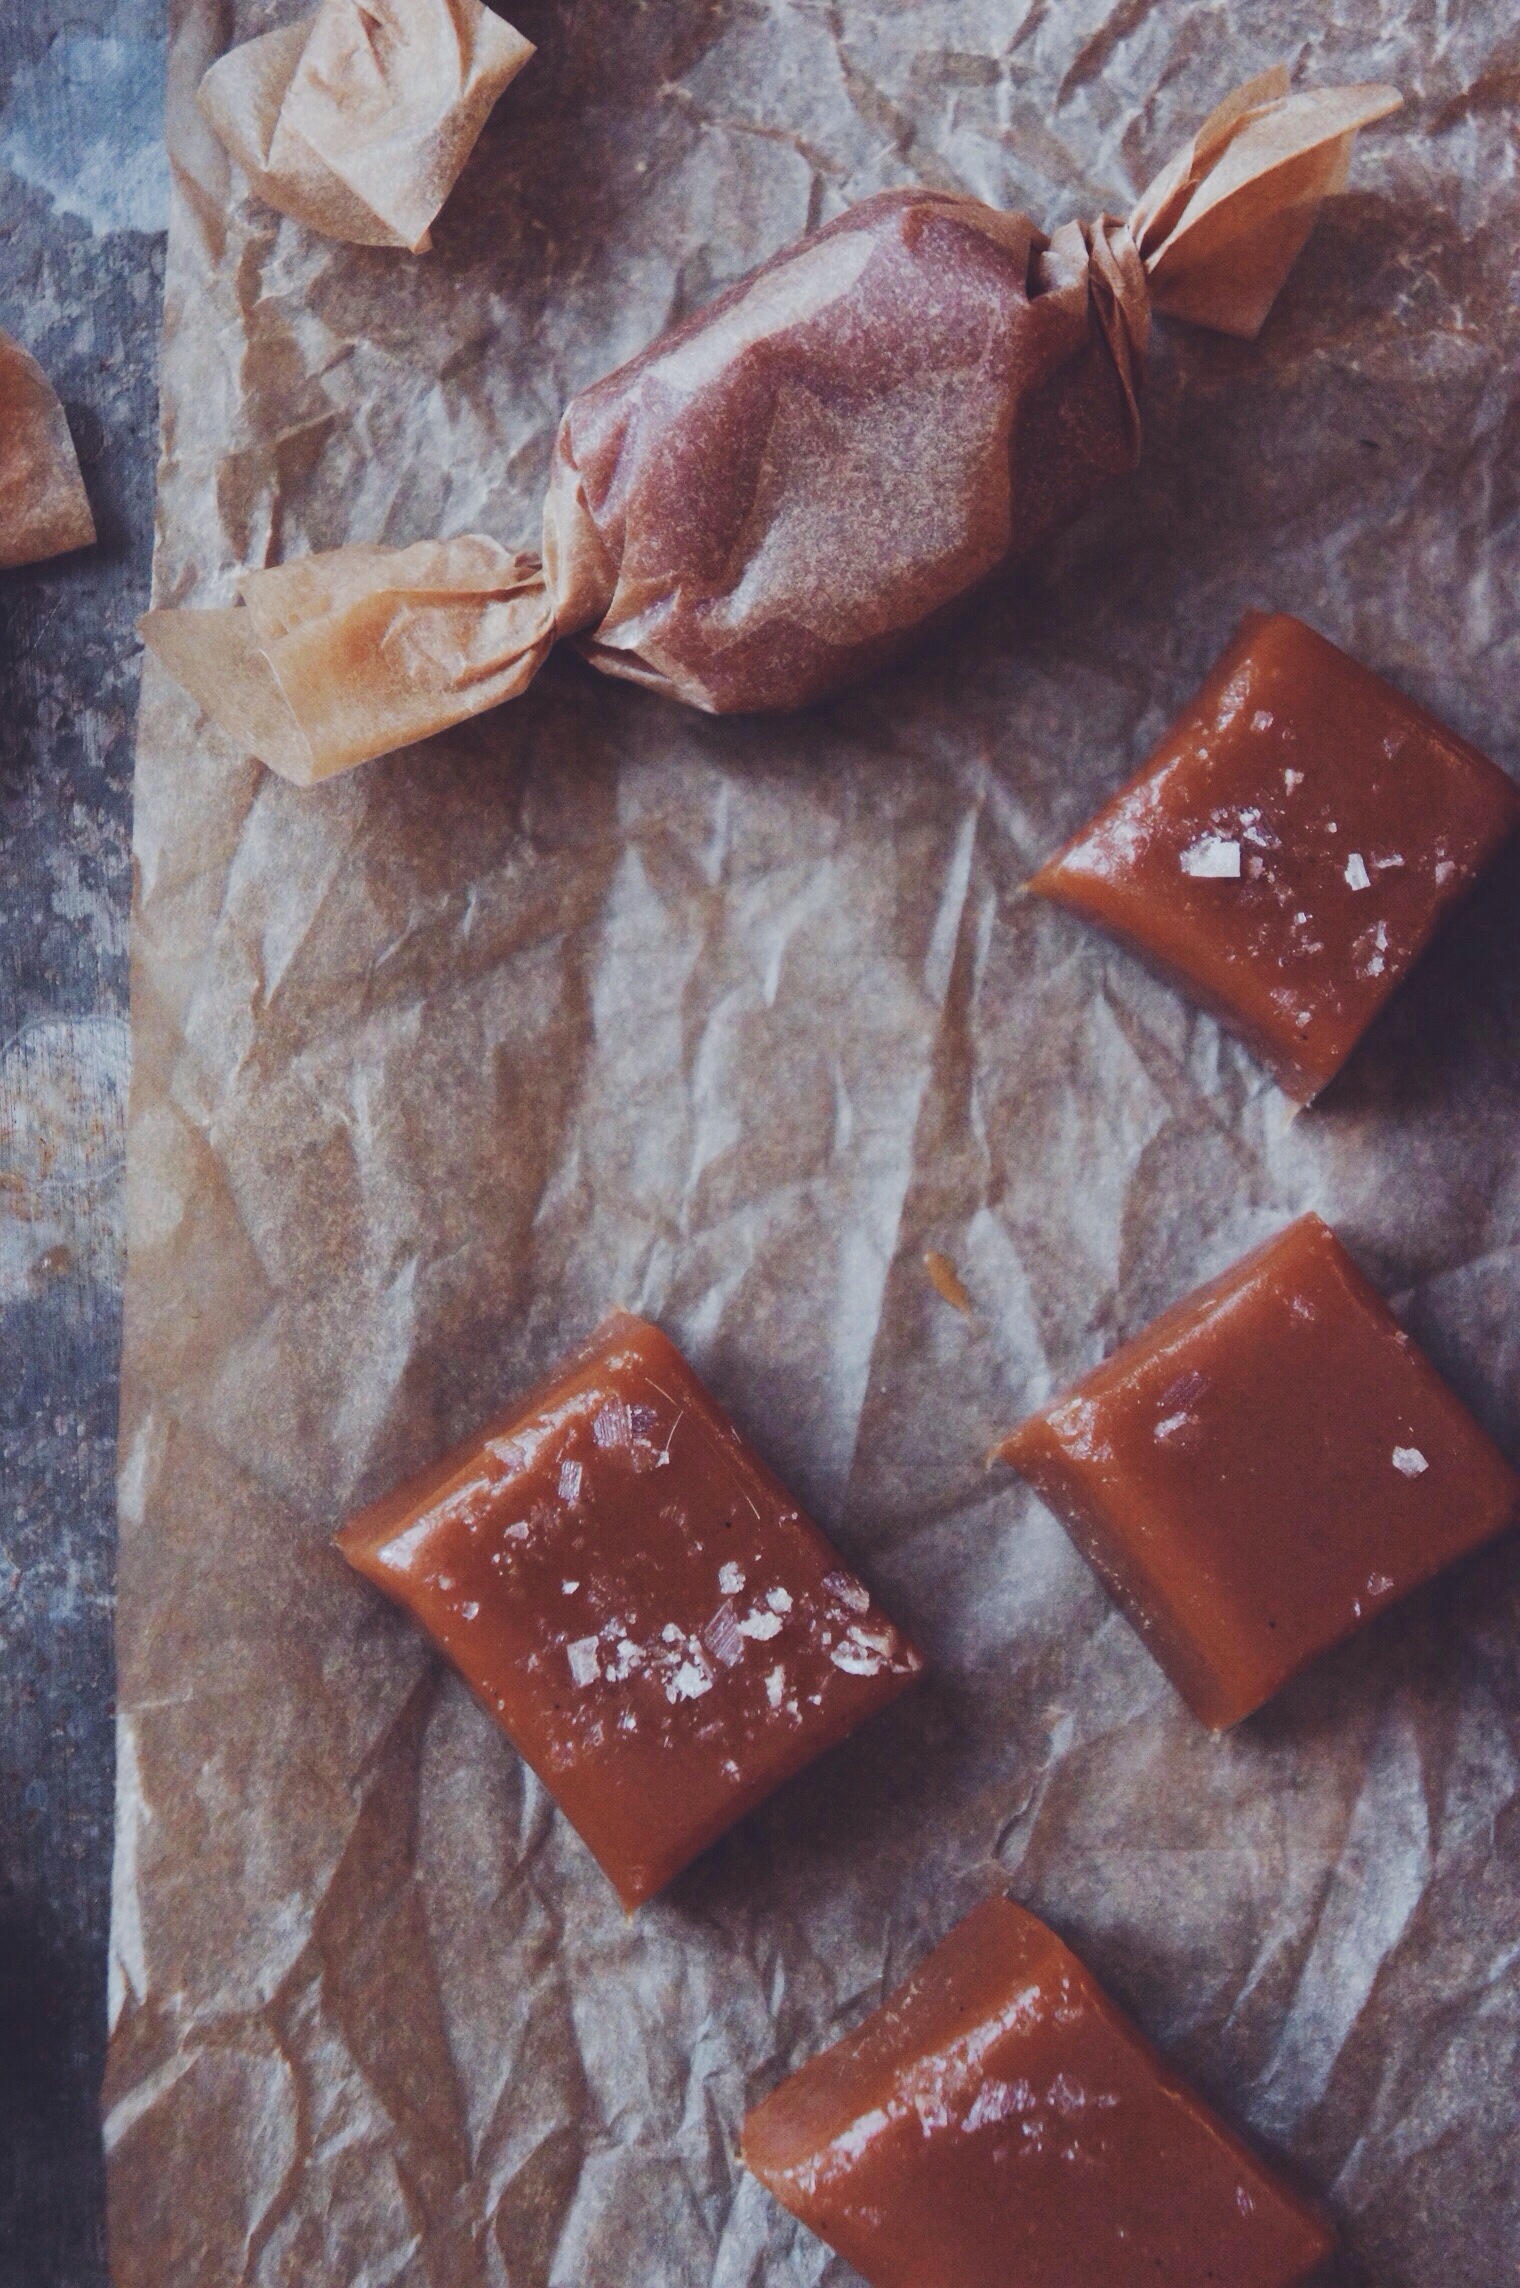
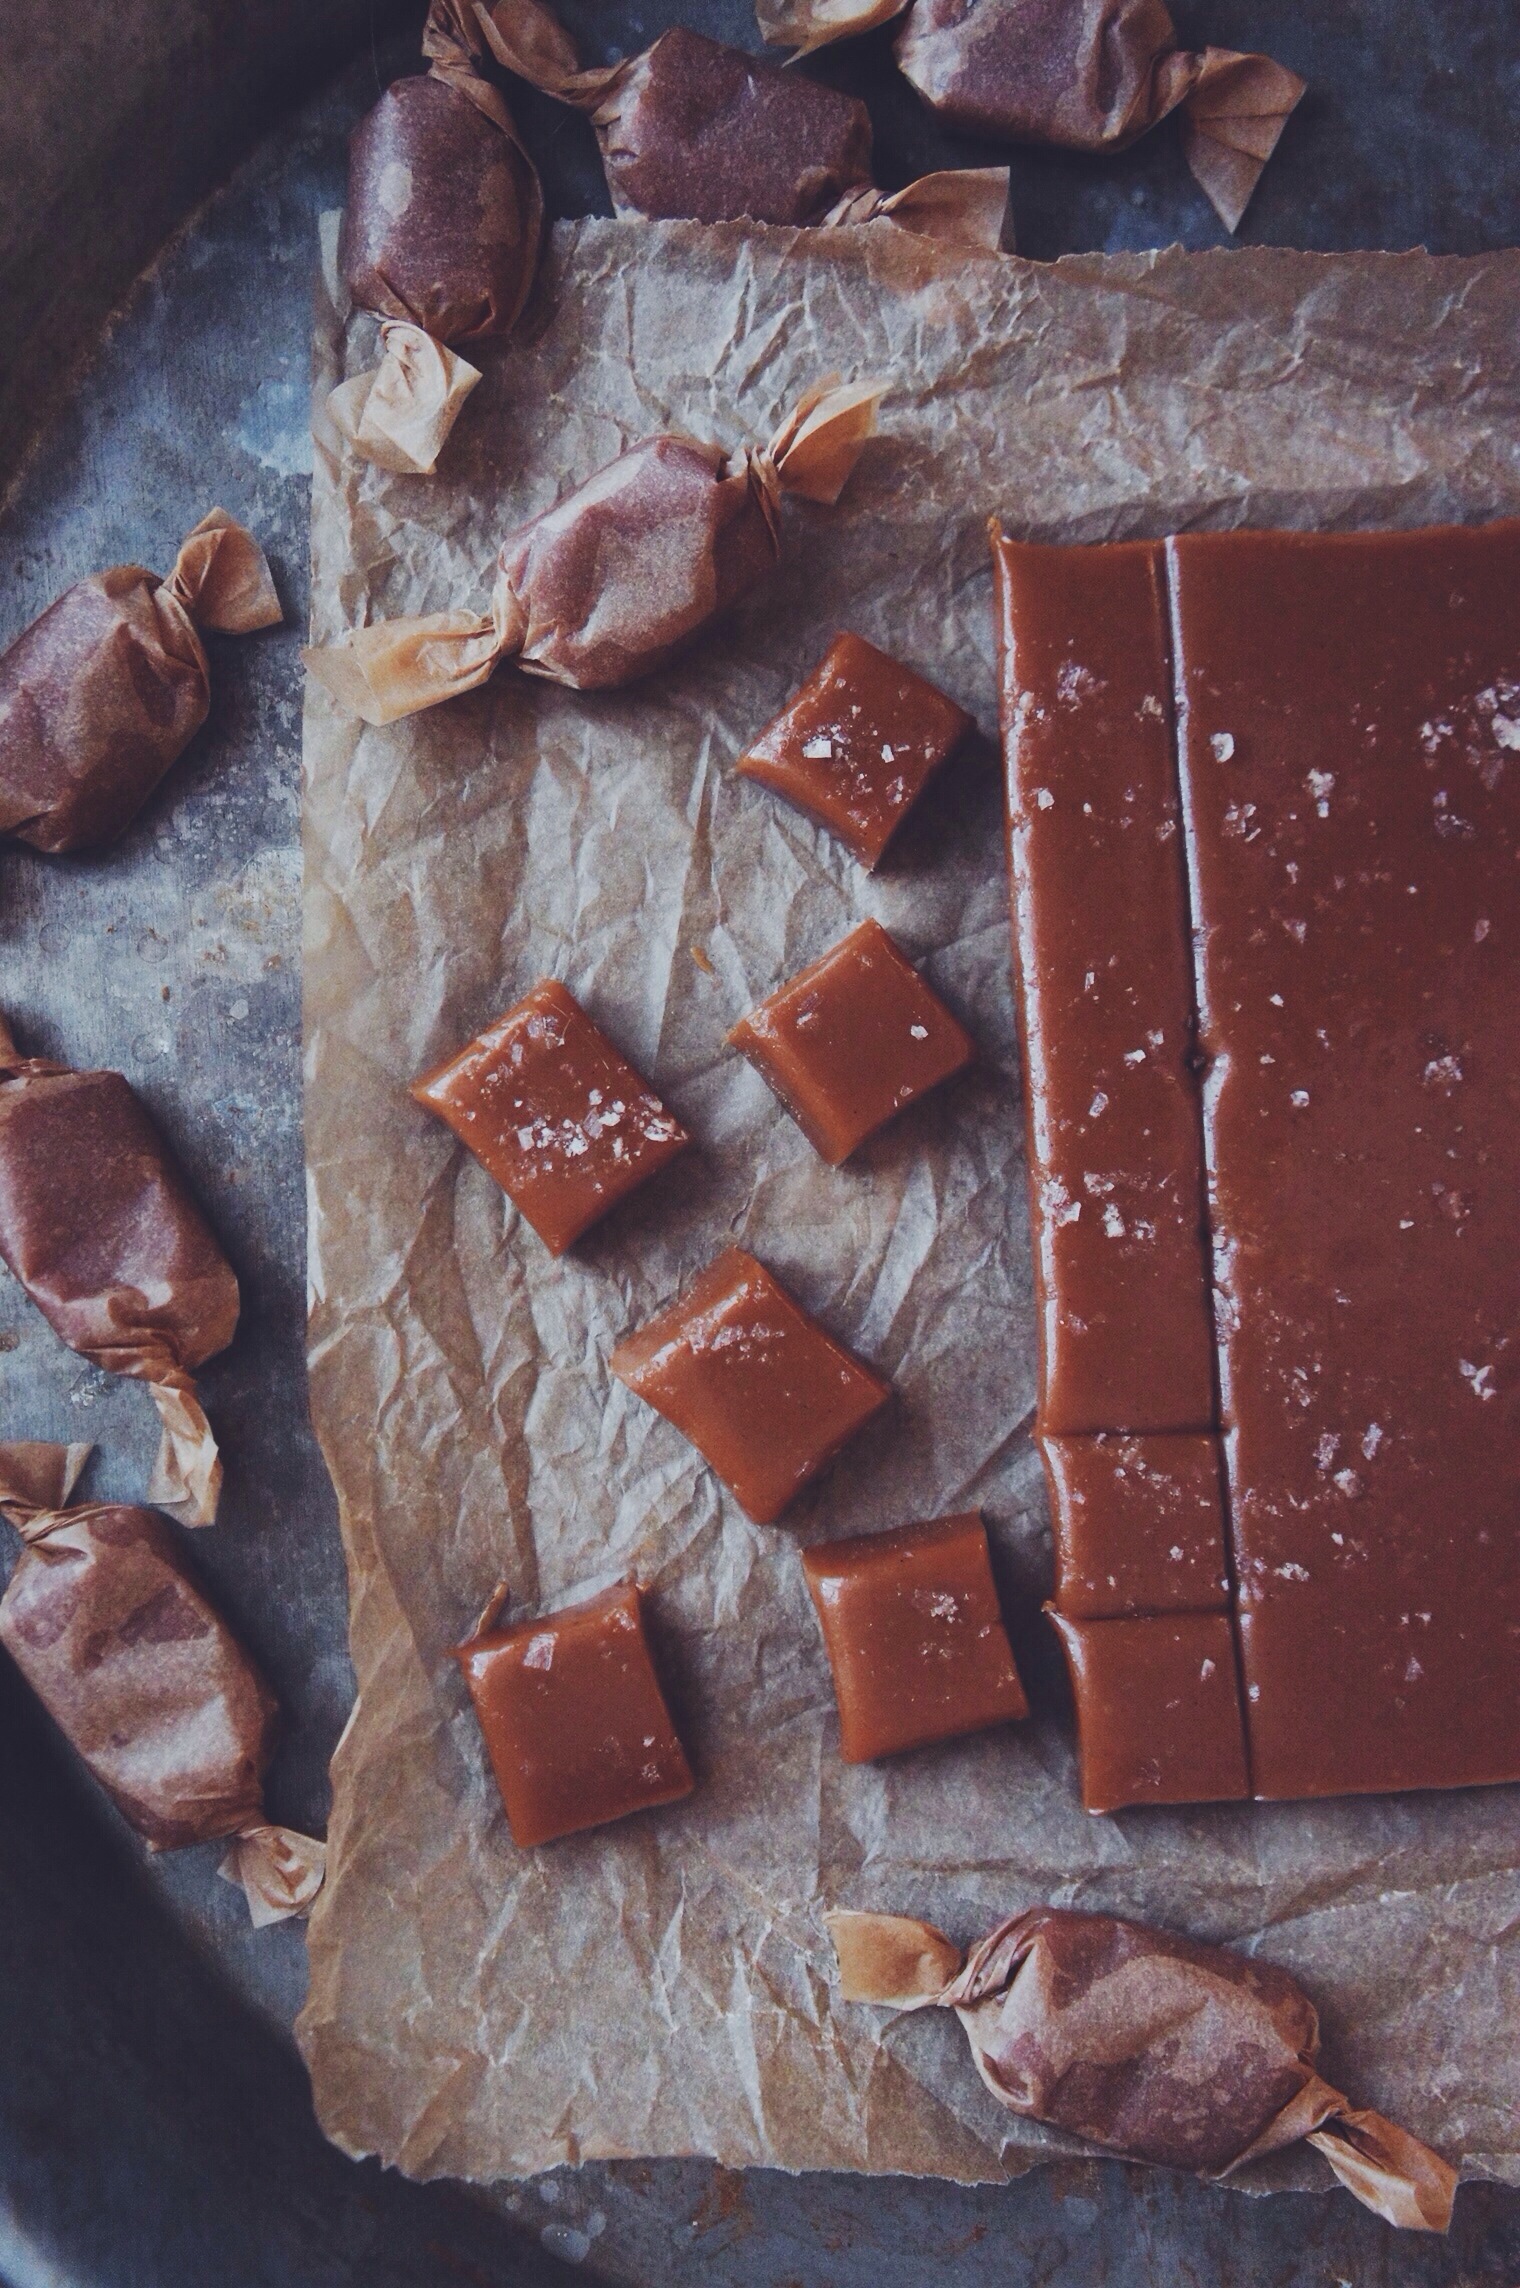
- Put the pan back on the heat and pop your candy thermometer in. Bring the mixture up to 250°f and then immediately remove from the heat. Stir in about 1/2 teaspoon of smoked salt and a teaspoon of vanilla bean paste, then pour into your prepared tin and sprinkle the top with extra smoked salt.
- Leave (out of the fridge) for at least 5 hours or overnight before cutting into small squares and wrapping individually. These will keep for a good 2 weeks stored in an air-tight container.
First time? The first time I made caramels I followed David Lebovitz’ recipe, which provides detailed advice and guidance for anyone making caramels for the first time. He instructs to heat the caramel until 260°f, basically resulting in a slightly firmer candy. The above recipe makes beautiful, melt in your mouth, soft candies.